The tutorial is from the following video
C++ Programming Tutorial - Build a 3-Band Compressor Audio Plugin (w/ JUCE Framework)
All operations are reproducible
- Install the IDE (Visual Studio)
- Clone JUCE
- Build Projucer
- Create a project
- Create a repository for the project
- Build and run the stand-alone app version of the project
- Set up Audio Plugin host
- Configure our IDE to launch APH whenever we build and run the project
- Configure APH so it can load our plugin and set up a FilterGraph so audio will run through our plugin
- Set up an AudioFilePlayer plugin so we can play audio files through our plugin
- Configure APH to use the AudioFilePlayer plugin to send audio into our plugin and out to the soundcard
- Notice: This is a tutorial for windows users. If I have a macbook, Maybe I will supplement the tutorial of MacOS
¶Install the IDE (Visual Studio)
open your website and search for visual studio community 2019
go ahead and download it and run the installer
click the Modify button
choose the Desktop development with C++ and set the installation details to set it up for C++ development
just click the install while downloading button
This is not the point in this blog so we quickly go to the next step
¶Clone JUCE
the first thing
we are going to use fork which is the git gui to interact with the repository
go to fork.dev
download fork for windows
launch fork and go to the file menu
go to preferences and we need to specify the default clone folder
anything that we clone is going to go into that folder in its own repository
navigate to the JUCE framework and get the url for that
visit github.com/juce-framework/JUCE
copy the url
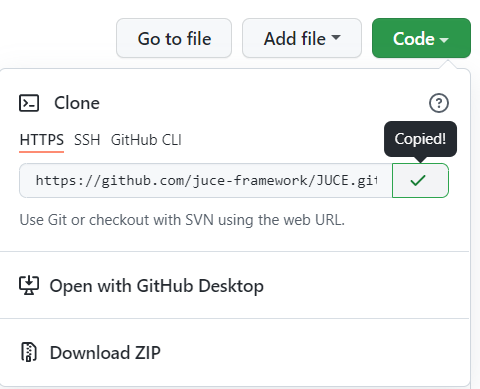
back to fork, choose file, then clone
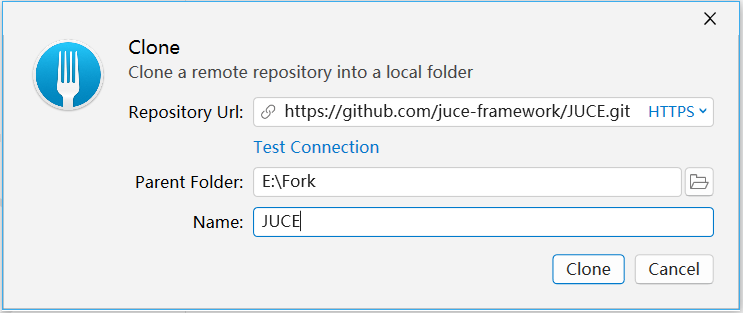
click the clone button and you will be downloading a copy of the JUCE repository to your computer
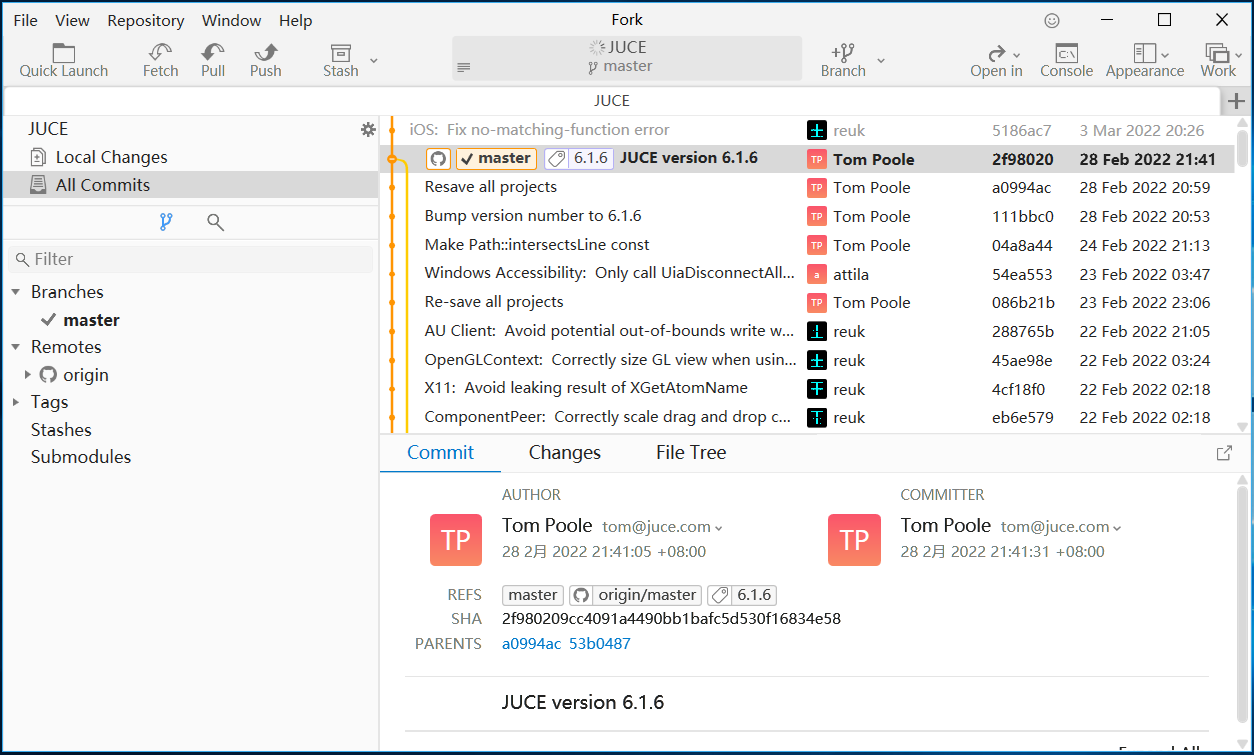
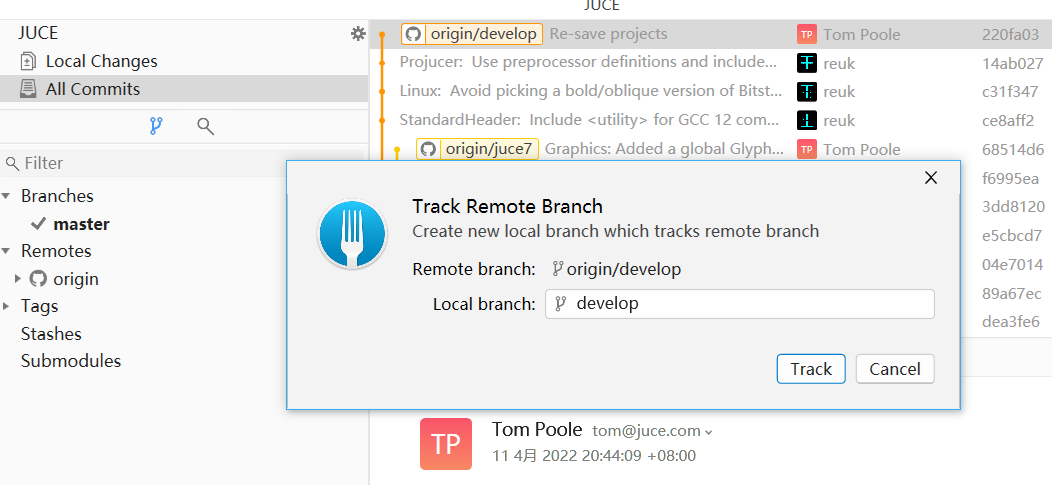
we want to check the develop branch, not the master branch
just double click the origin/develop button and click Track button
the next thing to do is to build the Projucer which creates JUCE projects for us
¶Build Projucer
click on this Open in and choose Open In File Explorer
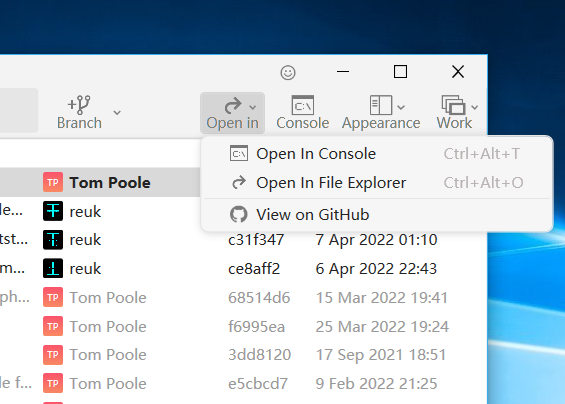
navigate to extras\Projucer\Builds\VisualStudio2019
open the Projucer.sln
just go to the build menu and choose build solution
this is going to build Projucer for us
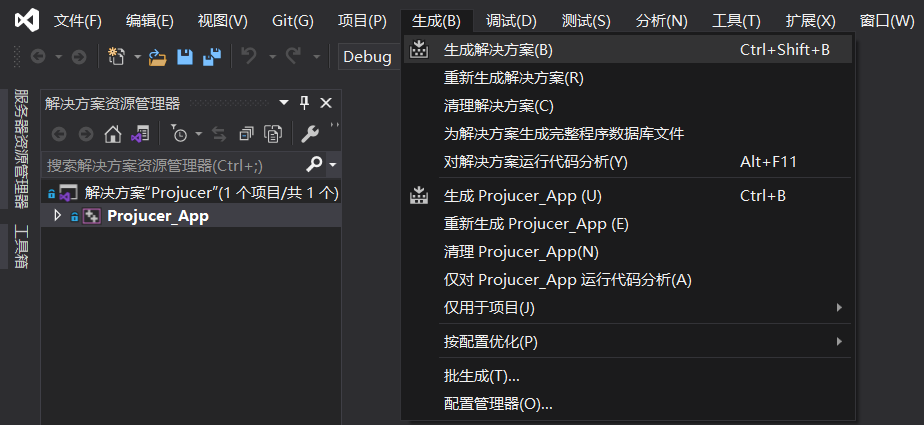
close the visual studio project
¶Create a project
navigate to JUCE\extras\Projucer\Builds\VisualStudio2019\x64\Debug\App
open the Projucer.exe
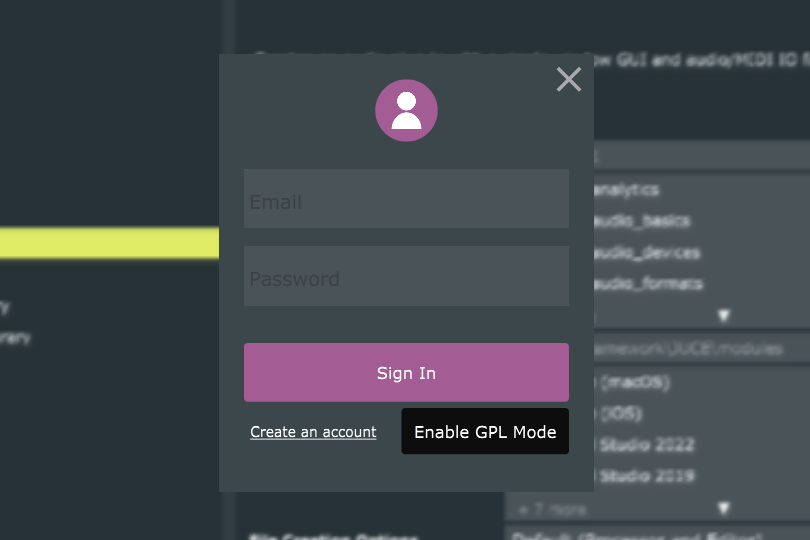
if this is the first time you are using Projucer it’s going to ask you to sign in
if this is not the first time, go to the file menu
choose sign in
if you have a JUCE account you can set that up
or you can Enable GPL Mode
GPL Mode has the requirement that we make our projects open source
go to the file menu and choose Global Paths
and then customize these paths here
back to your Projucer
choose Basic in Plug-In and give the name to your project (this project: SimpleMBComp)
set the correct Exporters: Visual Studio 2019
then click the Create Project… button
set your project’s folder
Enabled the Plugin copy step if needed
Change the C++ language Standard in Project Settings (click the little Settings button and you will see it)
change C++14 to C++17
¶Create a repository for the project
open fork
click file, choose init new repository
and choose SimpleMBComp folder for the project
notice that there are a ton of files here
we need to customize the .gitignore file for this project
right click and choose ignore and choose Custom Pattren
Add Pattern to .gitignore
you can see we only have the four source files, our .gitignore file and the .jucer file
we can make our initial commit
let’s stage these by clicking the stage all button (easy to find)
and now committing them
¶Build and run the stand-alone app version of the project
back to Projucer
click the Save and Open in IDE button (the symbol of Visual Studio)
this will launch visual studio one more time
right click on the StandalonePlugin in the Solution Explorer
and choose Set as Startup Project
now we can build it and run it on this local windows debugger
and this is the default audio plugin from Projucer
we need to come up with a test bed so that we can actually run audio through our plugin
¶Set up Audio Plugin host
let’s set up audio plugin host
navigate to JUCE\extras\AudioPluginHost and open the AudioPluginHost.jucer file in Projucer (Projucer.exe)
click Save and Open in IDE
go to the build menu and choose build solution
build succeeded and we are done with audio plugin host
¶Configure our IDE to launch APH whenever we build and run the project
let’s configure audio plugin host to launch whenever we have the vst3 as to startup project
open your project in Visual Studio
right click on the VST3 target and go down to properties
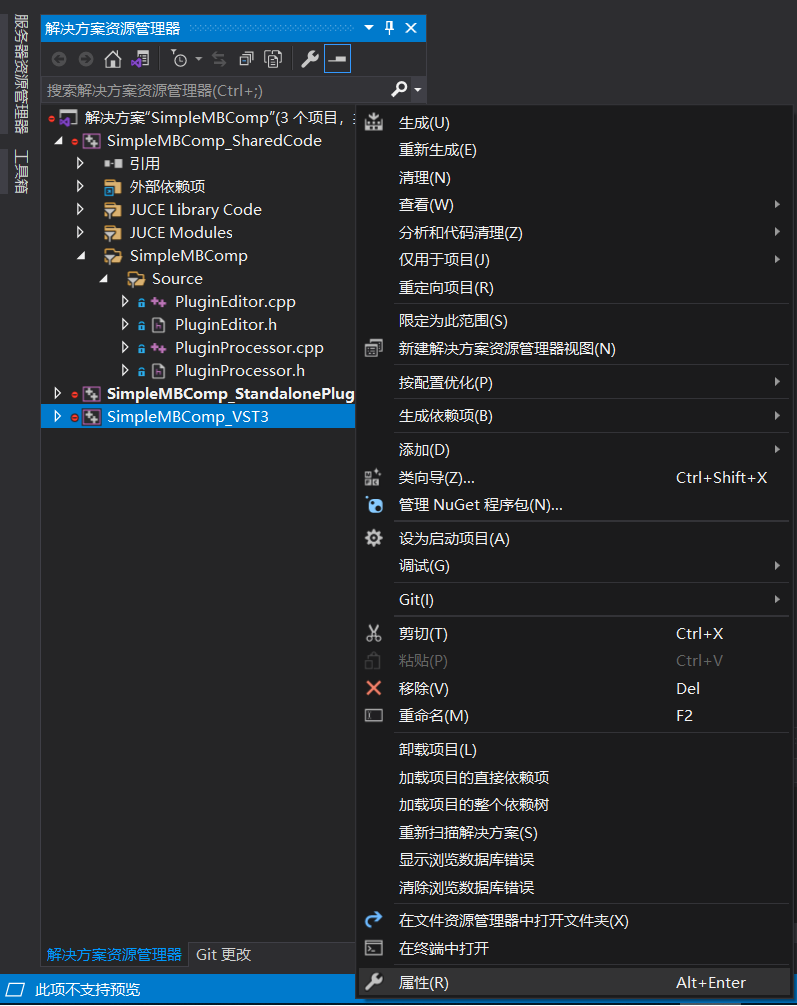
navigate to where it says debugging and we’re going to change the Command
click on this arrow and go to <Browse…>
and we are going to look for audio plugin host
the position:
\JUCE\extras\AudioPluginHost\Builds\VisualStudio2019\x64\Debug\App
and we find the AudioPluginHost.exe
click apply and ok
now we need to change the target from standalone to vst3, change that to the startup project
build and run
if you enabled the Plugin copy step, it’s going to fail on that copy step
what we need to do is change the permissions of this folder to allow the current user to write in this folder
%CommonProgramW6432% resolves to C:Program Files\Common Files
This is where visual studio is trying to copy this file to
navigate to C:Program Files\Common Files
right click to create new folder called VST3
right click on this
go to Properties and go to Security
click on Edit… to change the permissions for the User to be able to modify
click apply and ok
let’s build and run one more time in Visual Studio
we can see copy step completed
launch the Juce Plug-In Host
¶Configure APH so it can load our plugin and set up a FilterGraph so audio will run through our plugin
we need to scan for our plugin
choose options
choose Edit the List of Available Plug-Ins…
choose options…
choose scan for new or updated VST3 plug-ins
Select folders to scan:
C:Program Files\Common Files\VST3
you will find our plugin and now we can load it
right click on your Juce Plug-In Host
find your plugin in yourcompany (you can set your company name in Projucer) and click it
let’s wire it up to the outputs
first we save this and add to our repository
let’s make a commit that we added this
¶Set up an AudioFilePlayer plugin so we can play audio files through our plugin
we are going to set up audio file player so that we can run audio files through our plugin
in MacOS, we can use AUAudioFilePlayer
we need a windows equivalent to this
we can use the audio file player plugin that the tutorial author created
open up your browser
navigate to github.com/matkatmusic/AudioFilePlayer
copy the HTTPS to clone
Fork: File Menu -> clone
open in file explorer
open up the jucer file
Save and Open in IDE
Build Solution to compile the VST3
go back to our project
¶Configure APH to use the AudioFilePlayer plugin to send audio into our plugin and out to the soundcard
Launch AudioPluginHost by running the project
scan the plugin one more time
Options menu, Edit the List of Available Plugins
Scan for VST3s
load the AudioFilePlayer
load the audio file
save the .filtergraph file
make a commit
And this tutorial about getting started with JUCE ends here

